

Global Contact list
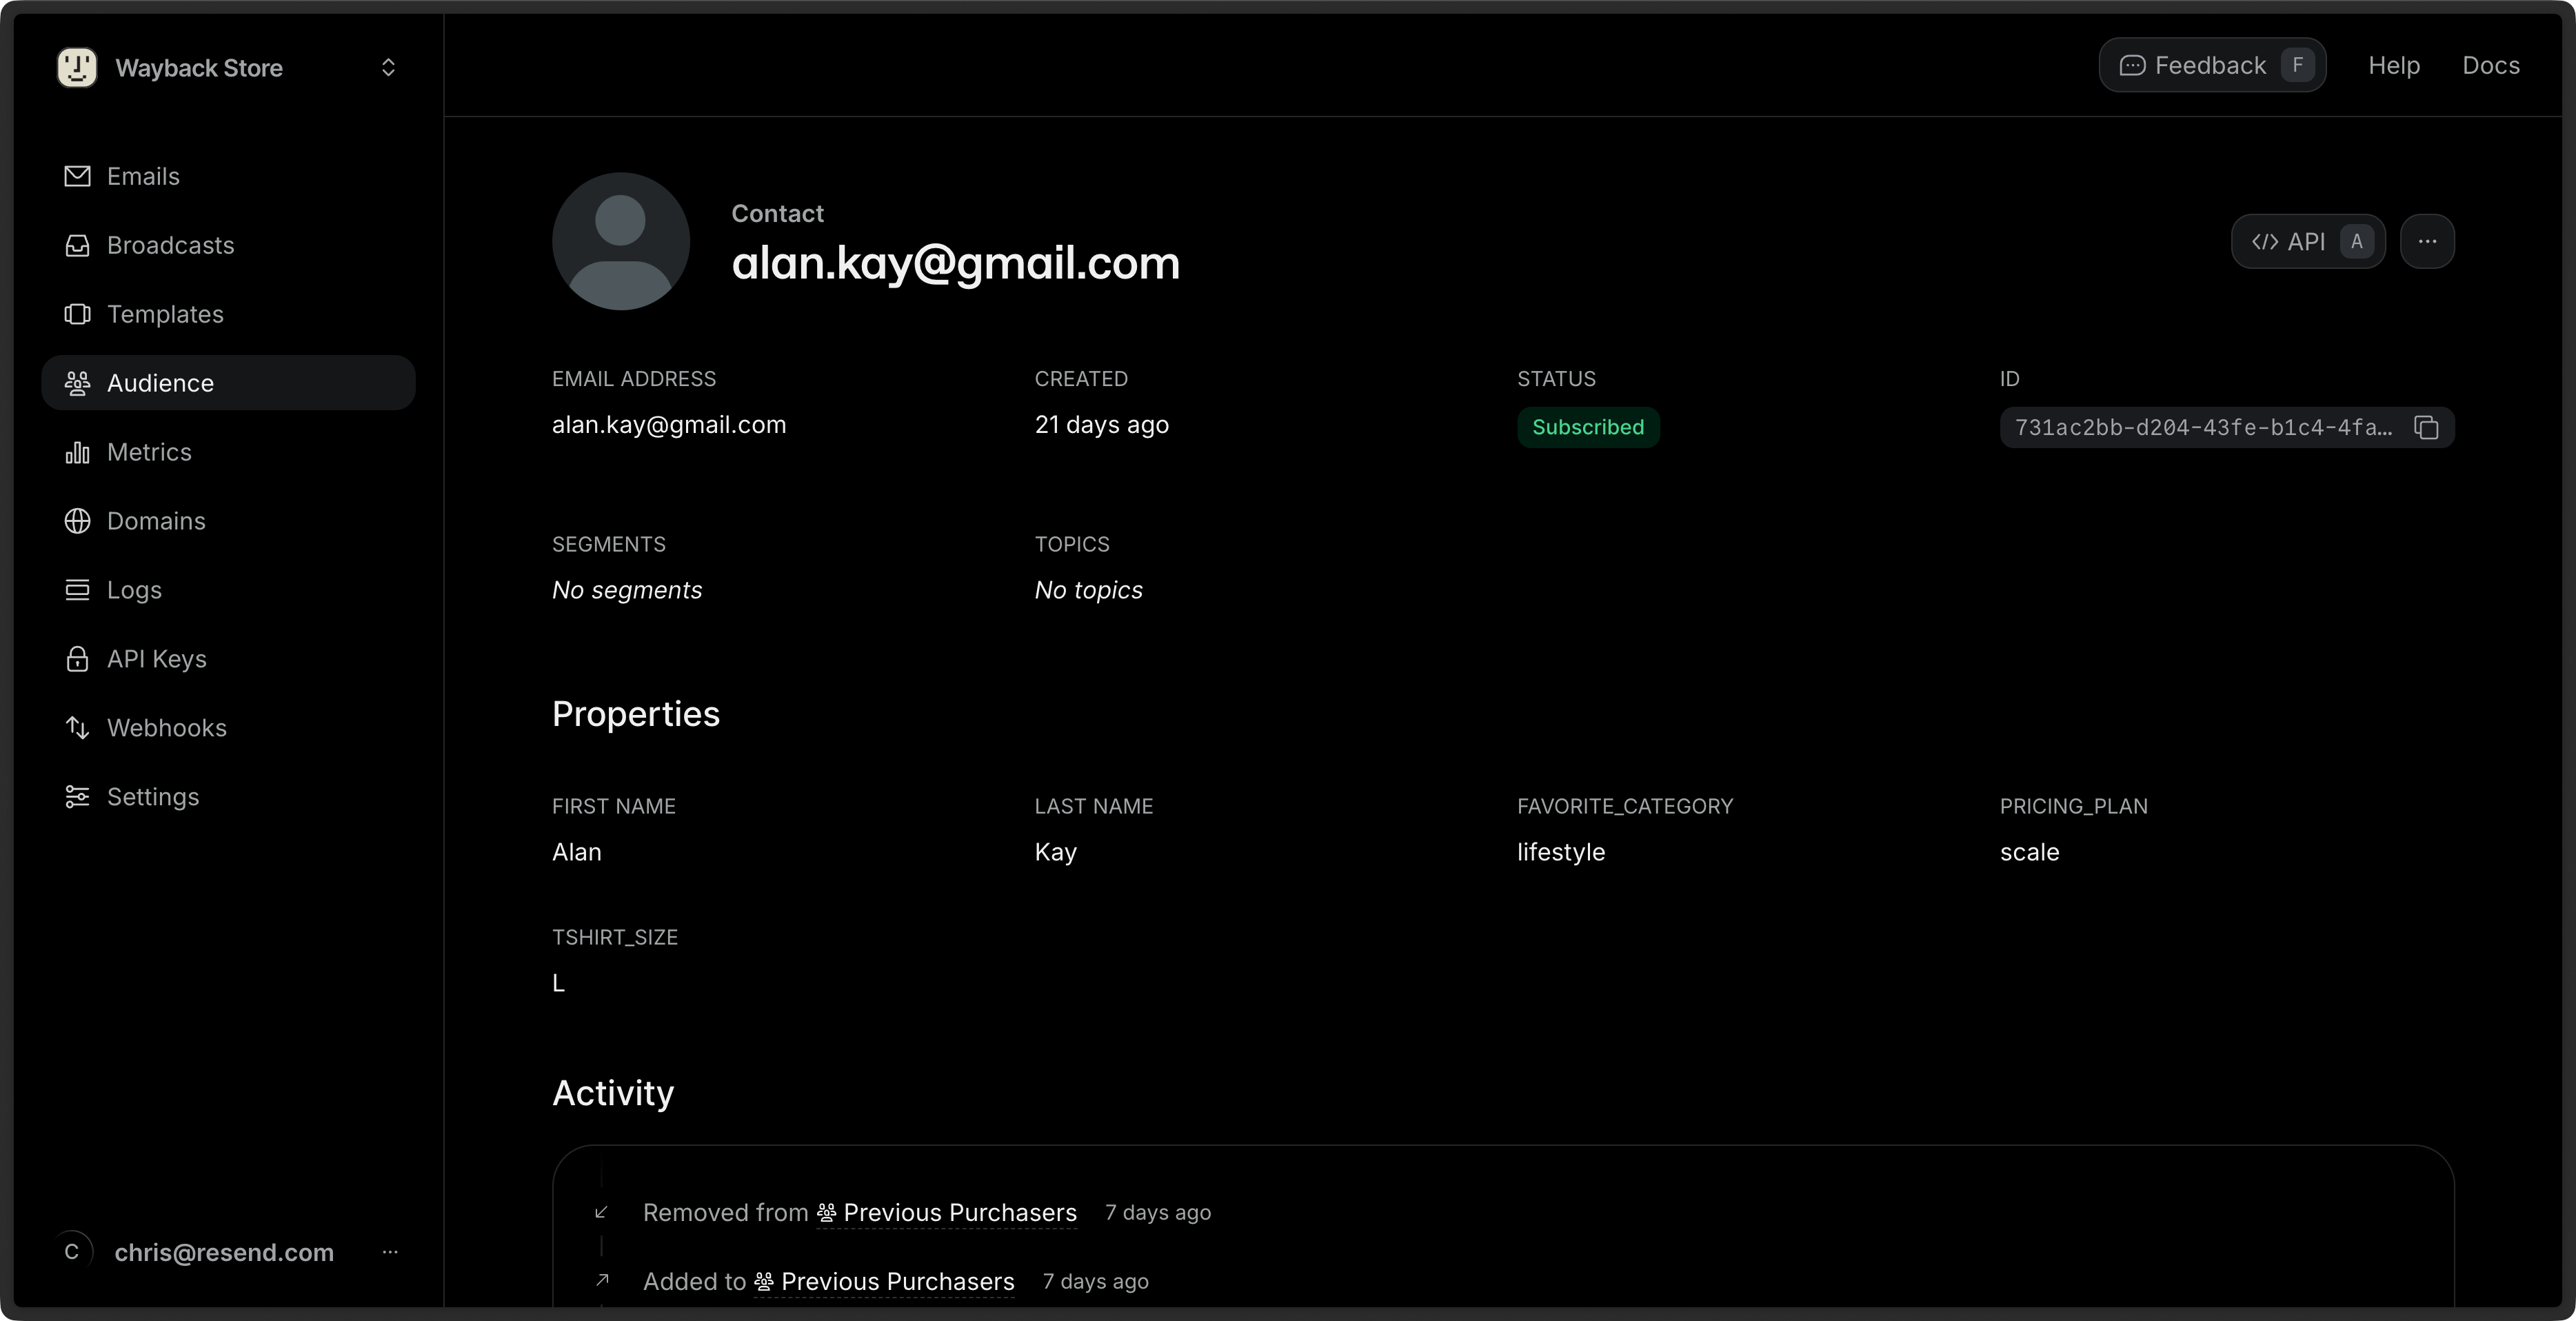
Resend manages a global Contact list for your Broadcasts with tools for viewing, organizing, and updating your subscribers. Contacts are global entities linked to a specific email address. Add additional Contact properties, such as a first name, to store additional information and personalize your marketing emails. Organize your Contacts into Segments for sending Broadcasts, and optionally use Topics to let your Contacts self-manage their receiving preferences. Each Contact:- is associated with a single email address
- can have custom properties
- can be in zero, one, or multiple Segments
- can opt in or out of Topics
Contact features
For each Contact, you can:- View and manage individual Contact details.
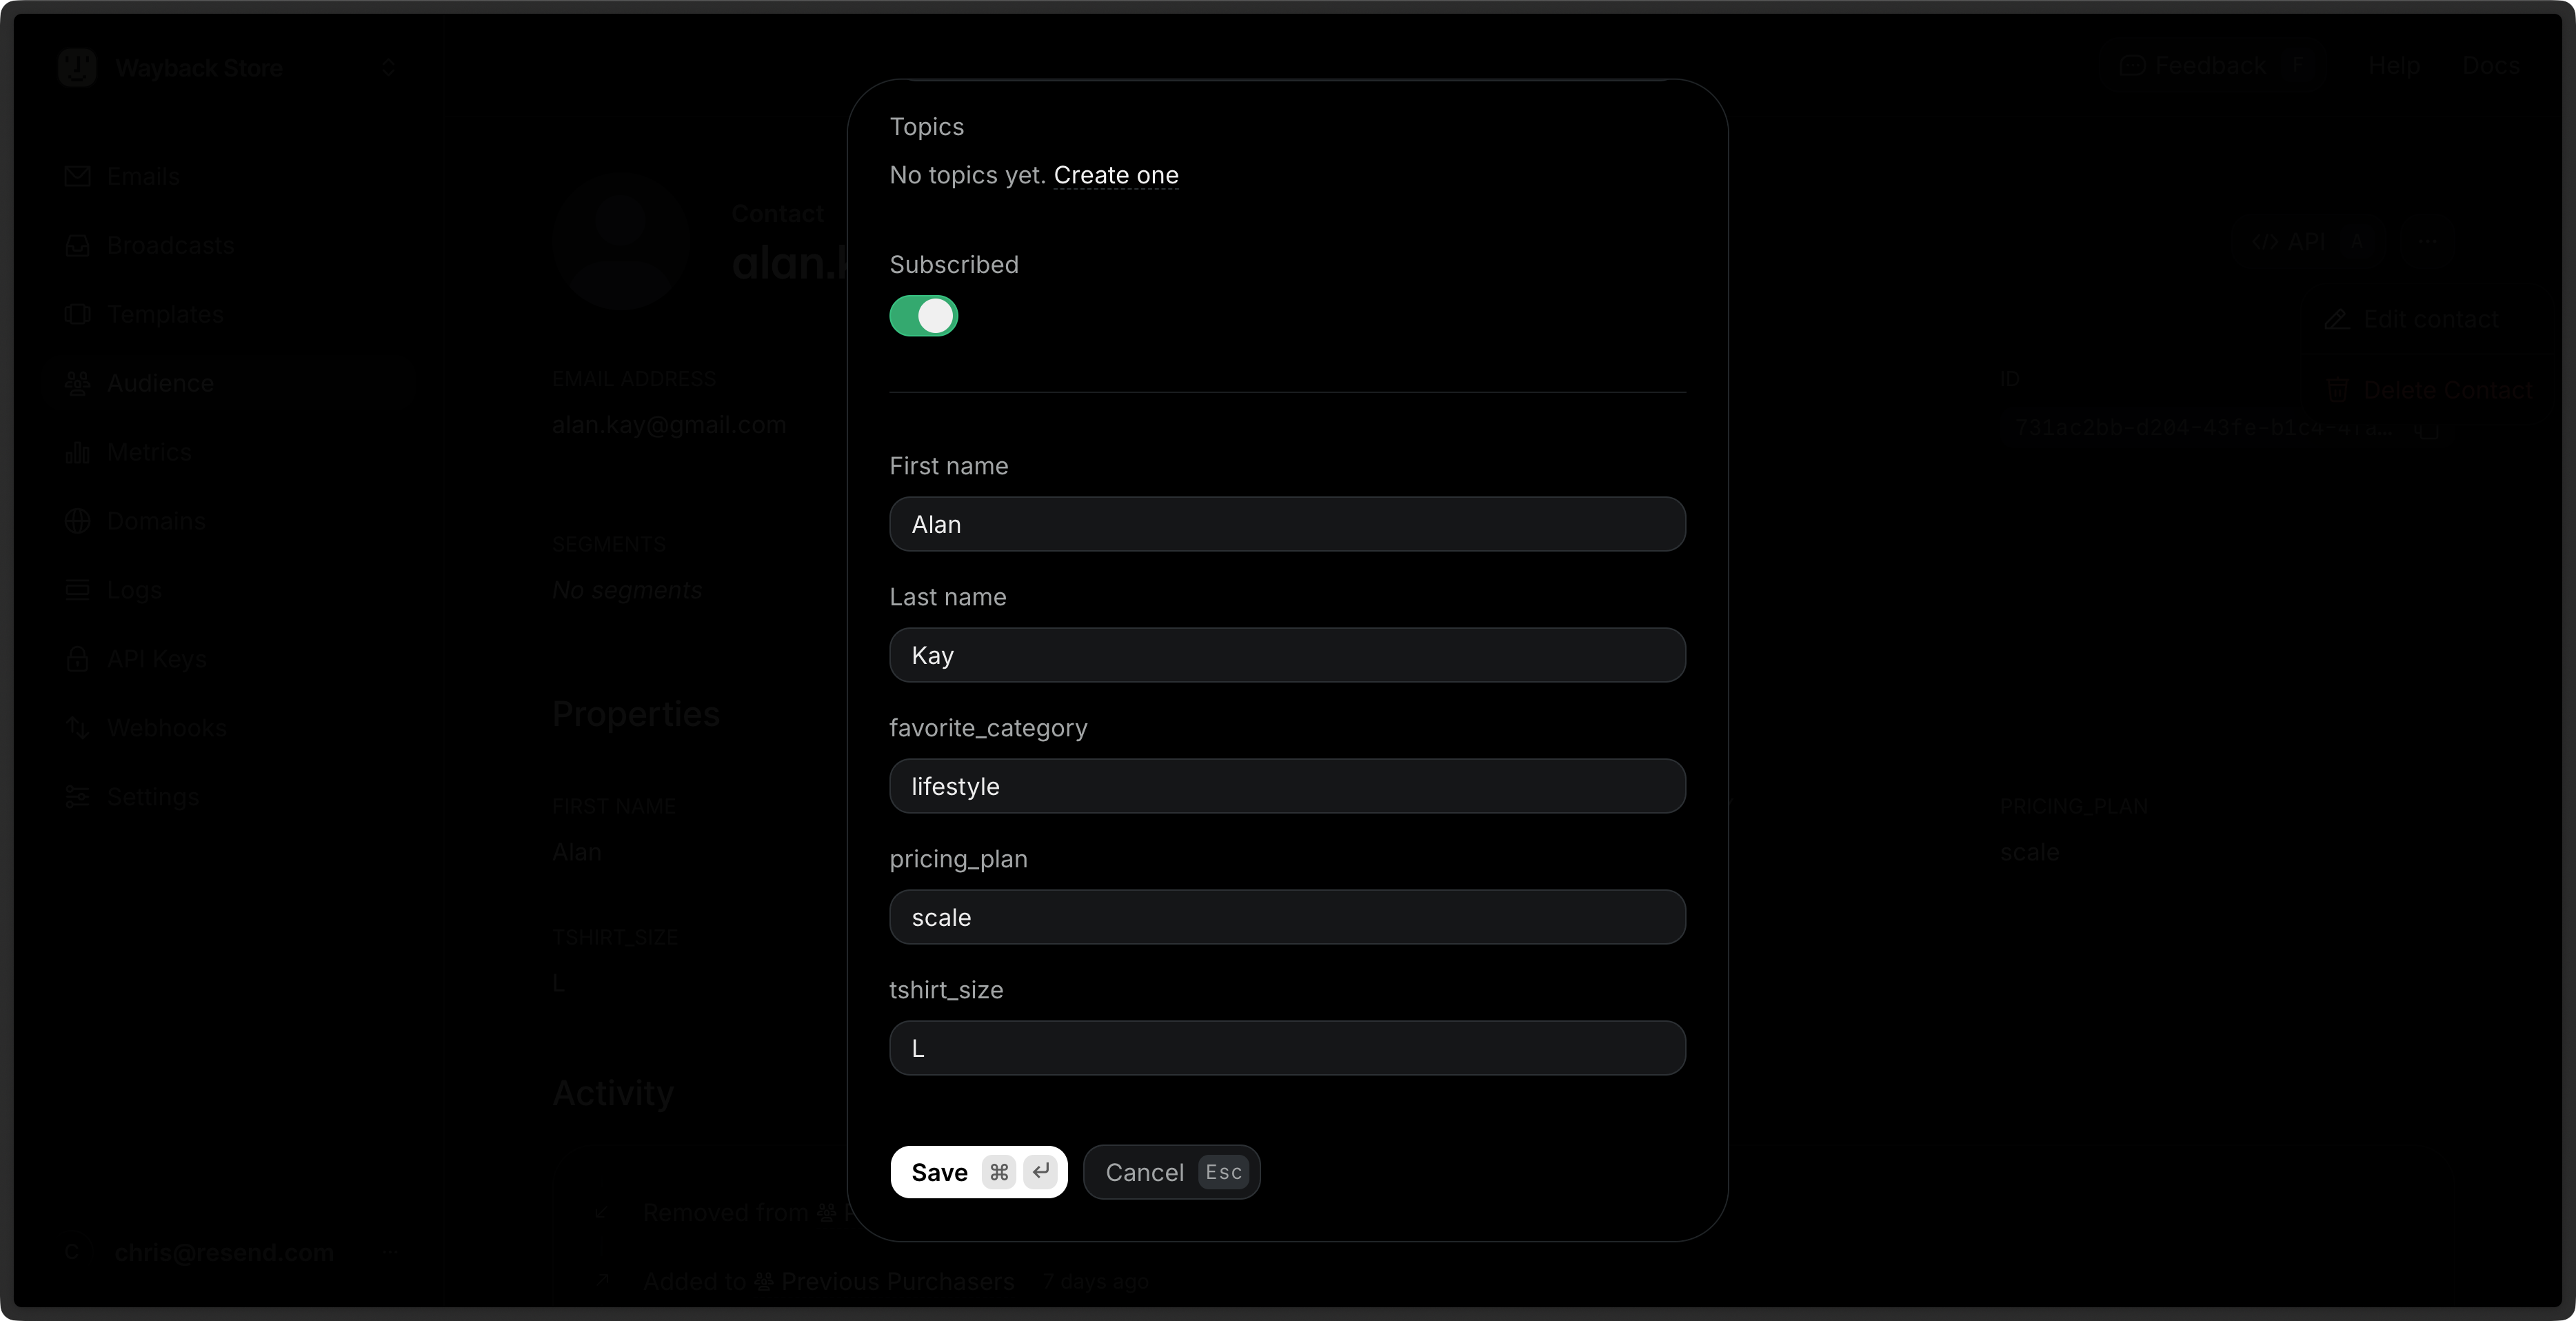
- Add and update Contact properties, including custom properties.
- Assign one or more Broadcast Segments for internal organization.
- Maintain a list of Broadcast Topics they have subscribed to.
Quickstart
In the Dashboard, add Contacts manually by providing one or more email addresses, or upload your existing Contacts stored in a.csv file.
Add Contacts programmatically with the Contacts API or CLI commands.
To add a single Contact manually in the Dashboard:
1
Navigate to the Audience Dashboard page.
2
Select Add contacts.
3
Select Add Manually from the dropdown.
4
Add the email address of the Contact in the text field.
5
Add the new Contact to an existing Segment.
An email address is the only required property for a new Contact. However,
a Contact must belong to a Segment in order to receive a Broadcast.
6
Confirm and click Add.
Choose your infrastructure
You can build and manage your Contact list entirely from the Resend Dashboard. This allows all members of your team to have full access to your Contact list and to perform any necessary maintenance. To organize and update your Contacts and their properties from your application, you can use a variety of tools:- SDKs: manage with an SDK built for your language
- Integrations: manage with a framework or tool you already use
- API: manage with raw cURL calls
- CLI: manage from the terminal
- MCP server: manage through your agent with MCP
Manage Contacts
After you have added Contacts, you’ll be able to view, manage and update Contacts and their properties in the Dashboard page. This allows all members of your team to maintain your Contact list and to perform any necessary maintenance such as removing unsubscribed Contacts. You can also perform these actions programmatically through the Contacts API, Resend CLI commands, Automations, and MCP server. Learn more about managing your Contacts in the dedicated guide.Contact properties
All Contacts require a valid email address for theemail property. In order to receive a Broadcast, a Contact will usually also be assigned to a Contact Segment.
You can store additional information about your Contacts by adding values for other Contact properties, including custom defined properties. Contact properties are useful for personalizing your Broadcasts with dynamic content, such as greeting recipients by first name.
Segments
Segments are a tool to group and manage your Contacts for sending Broadcasts. Send Broadcasts to a defined segment of your Contact list to provide extra confidence that you are delivering emails to the intended audience. Segments are not visible to your Contacts. They are only used for your own internal Contact organization. Your Contacts will never see the names of your Segments, and will not know which Segment(s) they belong to. You can view, add, and manage your Segments in the Dashboard or with any of Resend’s programmatic tools such as the Segments API, Resend CLI commands, and MCP. You can also create Automations to add or remove Contacts from a Segment. See how to perform common actions to manage your Segments in the dedicated Segments guide.Topics
You can choose to organize your marketing emails into distinct categories based on their subject matter or purpose by assigning a Topic to your Broadcast (e.g.,announcements, electronics). Each Contact has a corresponding topics property that determines which Broadcasts they will be sent. If you do not use Topics, then Resend will send your email to every subscribed Contact in the Broadcast’s Segment.
Unlike Segments, this optional Contact property can also be updated by subscriber action, and allows your users to self-manage their email preferences.
Scope sending a Broadcast to a particular Topic, and subscribers will have the option to unsubscribe from that specific Topic only. This means that your users can continue to receive other emails that are relevant to them. They do not need to unsubscribe from your mailing list entirely.
Resend will handle the unsubscription workflow and update each Contact’s list of subscribed Topics in response to user action. You can also manually update this Contact property on the user’s behalf, or as part of Automation workflows.
You can view, add, and manage your Topics in the Audience Dashboard or with any of Resend’s programmatic tools such as the Topics API, Resend CLI commands, and MCP.
See how to perform common actions to manage your Topics in the dedicated Topics guide.
Topics vs Segments
Topics and Segments serve different purposes. They are complementary tools to ensure that your recipients are receiving the emails they want.How Segments and Topics work together
Segments are who you’re sending a Broadcast to and Topics are what kind of Broadcast you’re sending. When you send a Broadcast:- Choose a Segment as your recipients (your sender intent).
- Label the content with a Topic (so the system can respect recipient preferences).
- Everyone in the Segment receives the message except Contacts who are globally unsubscribed or opted out of that Topic.
Related Guides
See how to use Resend’s Contact management features.Add Contacts
Manage Contacts
Contact Properties
Unsubscribe List
Segments
Topics
Export your data
Admins can download your data in CSV format for the following resources:- Emails
- Broadcasts
- Contacts
- Segments
- Domains
- Logs
- API keys
Currently, exports are limited to admin users of your team.
All exports your team creates are listed in the
Exports page under Settings > Team >
Exports. Select any export to view its details page. All members of your
team can view your exports, but only admins can download the data.